

内容目录
Day7 ProxyServer(代理服务器)
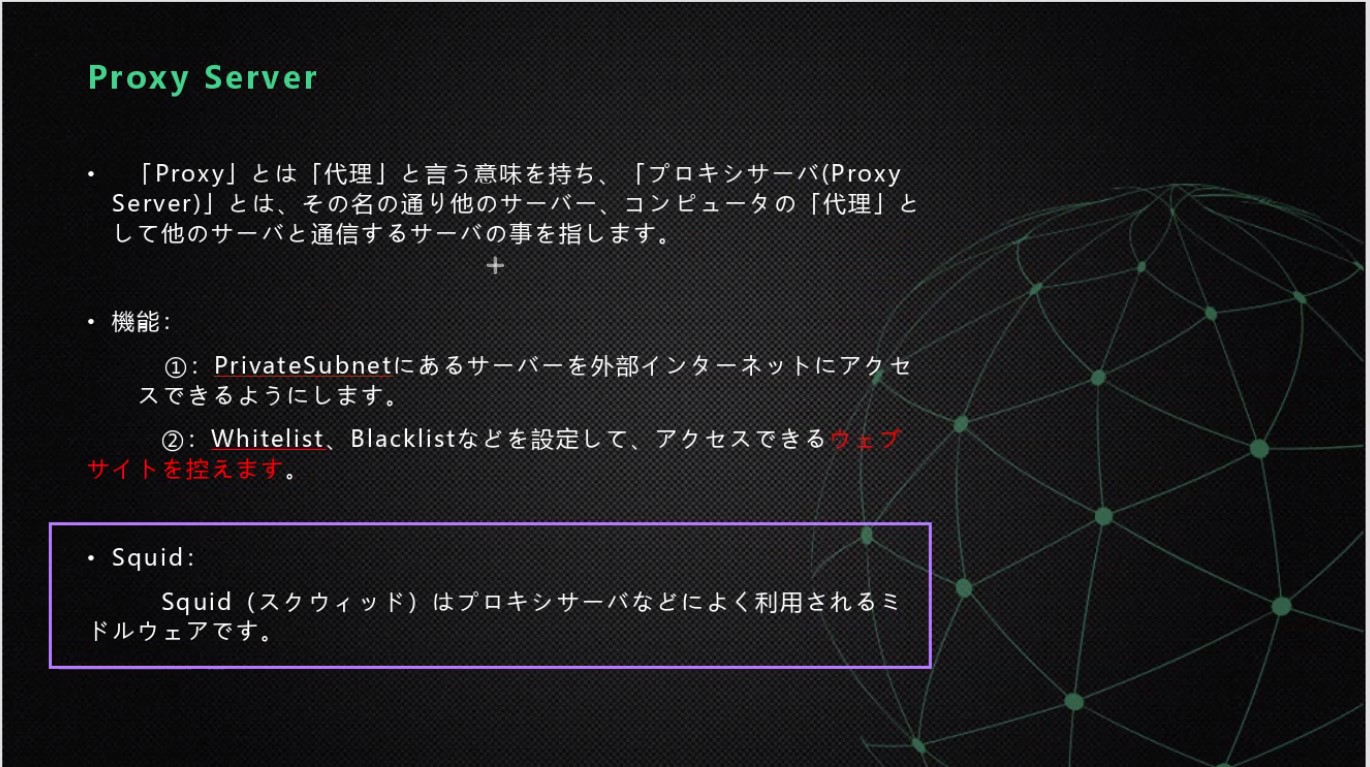
1.什么是ProxyServer(代理服务器)
代理(英語:Proxy)也称网络代理,是一种特殊的网络服务,允许一个终端(一般为客户端)通过这个服务与另一个终端(一般为服务器)进行非直接的连接。 从而增加我们服务器的安全性。
可以为我们的服务器多一层保障,让代理服务器来帮我们访问架设网页的主机。
2.构建网络
2.1创建两个字网(サブネット)
- VPC→添加两个字网(サブネット)
- 选择自己的VPC→填入名称(qlite-dev-xxx-subnet-nat1a)
- 选择对应的1a网络
- IPv4 CIDR填入:10.学号.4.0/24
同样的步骤我们再创建一个1c注意IP不要重复。
2.2创建一个NAT ゲートウェイ
NAT ゲートウェイ能让私有网络里面的实例访问外部网络,但外部进不来的一个功能
- 选择创建一个NAT ゲートウェイ
- 填入名称ngw
- 选择pub1a这个公网
- 分配一个公网IP创建他
2.3创建路由表ルートテーブル
- 选择ルートテーブルを作成
- 输入名称(qlite-dev-xxx-rtb-nat1a)
- 选择自己的VPC
- 创建
- 同样步骤再做一个nat1c
- 然后在サブネットの関連付け里分别关联nat1a和nat1c
- 最后在ルート里面把nat1a和nat1c分别添加我们的NAT ゲートウェイ
到此网络我们就配置好了。
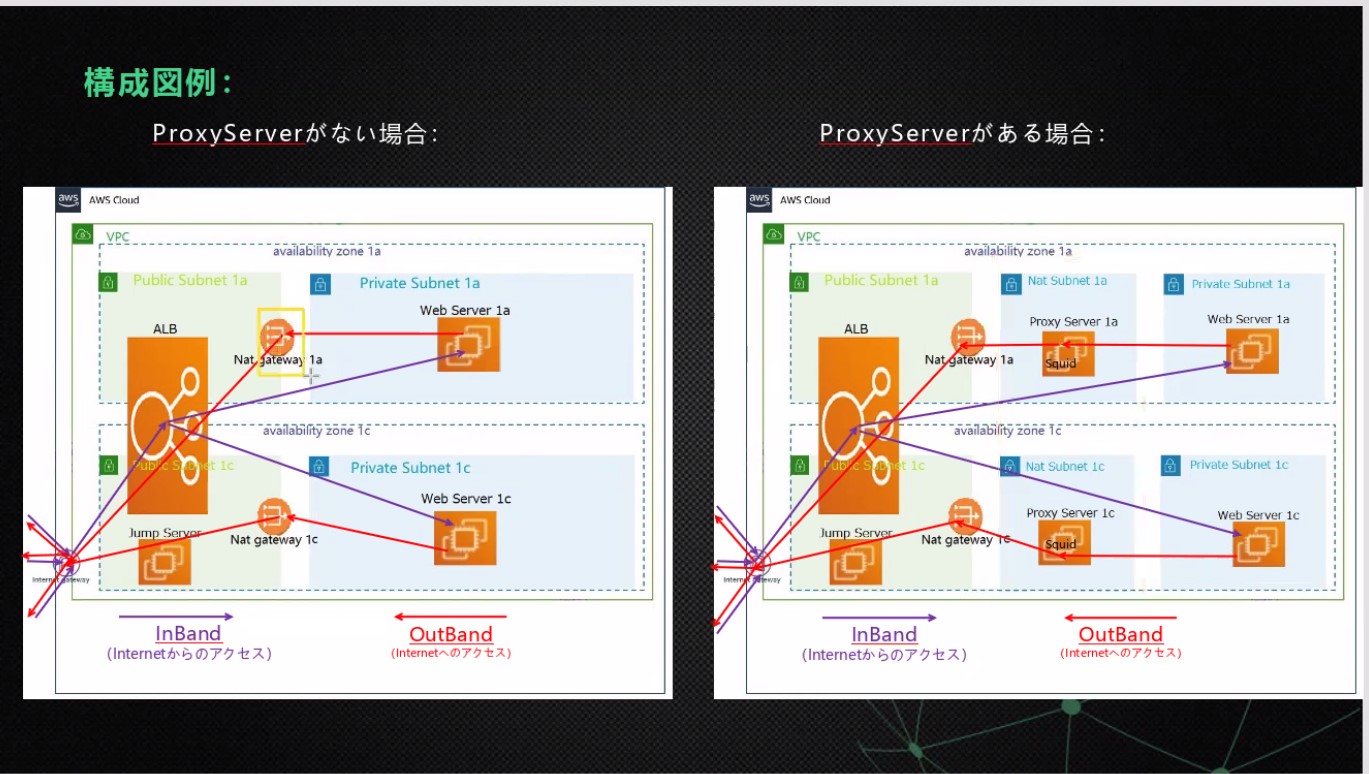
3.创建EC2
- 创建一个新的实例
- 填入名称qlite-dev-xxx-ec2-proxy1a
- 选择子网nat1a
- 创建一个新的安全组qlite-dev-xxx-sg-proxy
- 我们放开22端口和8080端口创建实例
- 同样的方法创建一个proxy1c实例注意网络别选错
拓展:如果你觉得麻烦可以做好proxy1a这一台机器后用AMI来再创建一个实例
4.配置代理服务器
-
用跳板机登录proxy1a服务器
-
下载squit
sudo yum -y install squid -
proxy路径为/etc/squid/
-
sudo su

cd /etc/squid/       #进入squit目录

diff squid.conf squid.conf.default   #看一下两个文件是不是一样比较文件的差异

vim squid.conf       #编辑squid.conf的时候可以:set nu来显示行号输入行号回车可以直接跳转

#修改52-59行
52 http_access allow localnet
53 http_access allow localhost
54
55 # And finally deny all other access to this proxy
56 http_access deny all
57
58 # Squid normally listens to port 3128
59 http_port 3128

#注释掉或者删除52行和53行56行端口改成8080同时新加两行61和62行的白名单配置
52 # http_access allow localnet
53 # http_access allow localhost
54
55 # And finally deny all other access to this proxy
56 # http_access deny all
57
58 # Squid normally listens to port 3128
59 http_port 8080
60
61 acl whitelist dstdomain "/etc/squid/whitelist.txt"
62 http_access allow whitelist
63
一般#后面都是注释(コメントアウト)commentout
-
接着输入
touch whitelist.txt      #创建一个白名单
echo .google.com > whitelist.txt     #写入内容
echo .amazonaws.com >> whitelist.txt

systemctl start squit            #启动squit
systemctl enable squit       #自动启动
systemctl status squit       #查看状态
配置完成
5.配置网页服务器web1a
用跳板机登录web1a
sudo su

cd /etc/

ll | grep profile   #搜索profile

cp -p profile profile.bak   #备份一个profile

vim profile  #输入:$可以跳到最后一行 按o可以另起一行直接编辑

export http_proxy=10.10.5.79:8080       #最后一行添加一行环境变量。注意⚠️不要照抄我的IP,填入你的代理服务器proxy1a的局域网IP 端口8080

source /etc/profile

curl -I www.google.com    #检查访问goole发现可以正常访问